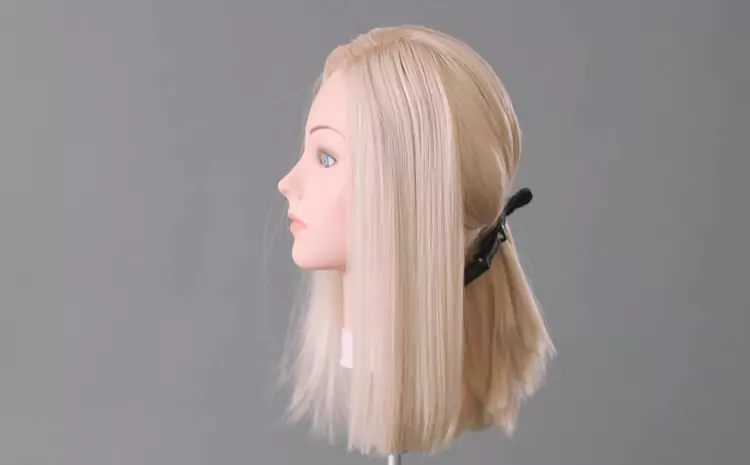
Wigs come in different sizes, but sometimes they just don’t fit quite right. If you have a wig that’s too loose, it may not stay in place, which can be frustrating. Learning how to make a wig smaller can help you achieve a snug, comfortable fit without needing professional help. This guide will show you a few simple ways to adjust your wig at home.
Key Takeaways
- Making a wig smaller is simple and can save you from buying a new one.
- There are several easy methods to adjust the wig’s size.
- Each technique ensures a snug, secure fit.
Why Make a Wig Smaller?
Getting the right fit for a wig is essential for comfort and confidence. A well-fitted wig stays in place, feels secure, and looks more natural. If a wig is too loose, it may slip or move throughout the day. Learning how to make a wig smaller ensures a stable fit that allows you to wear your wig comfortably.
Materials You’ll Need
Before you start, gather the following materials. Most of these are commonly found around the house:
- Needle and thread (matching the wig color)
- Small hair clips or wig clips
- Elastic band (1-2 inches wide)
- Scissors
- Measuring tape
Measure Your Head
To ensure a proper fit, measure your head’s circumference. This will help you determine how much smaller to make the wig. Use a measuring tape and wrap it around your head where the wig sits, usually around the hairline.
Use Adjustable Straps
Many wigs come with adjustable straps at the back. If your wig has these, they’re the easiest way to make the wig fit smaller without cutting or sewing. Here’s how to use them:
- Locate the straps inside the wig near the nape.
- Adjust the straps by moving them to a tighter setting.
- Try the wig on and see if it fits better.
This method is fast and easy, but it may not work for all wigs, especially if they’re significantly loose.
Sew a Tuck in the Wig
If the adjustable straps don’t make the wig small enough, you can sew a tuck in the wig. This involves folding a small section of the wig cap and sewing it in place to reduce its size.
How to Sew a Tuck?
- Identify the areas where the wig feels loose.
- Pinch the extra material along the edges or at the back.
- Use needle and thread to sew the fold in place.
- Try the wig on and make adjustments if needed.
This method is effective for making a wig smaller without adding extra materials. Just ensure that your stitches are secure so the tuck stays in place.
Add an Elastic Band
Adding an elastic band to your wig is another easy way to create a smaller, snugger fit. Elastic bands are comfortable and ensure the wig stays in place.
Steps to Add Elastic to a Wig
- Measure the elastic band to fit snugly around your head.
- Sew each end of the band to the inside of the wig near the ear tabs.
- Place the wig on and adjust the fit as needed.
The elastic band method is effective for securing wigs, especially if they’re larger. It’s also helpful for heavy wigs that may slide back.
Use Wig Clips
If you don’t want to alter the wig permanently, wig clips can provide a temporary solution. Wig clips secure the wig to your natural hair, helping it stay in place and feel tighter.
How to Use Wig Clips?
- Attach the clips to the inside of the wig, focusing on loose areas.
- Clip the wig to your natural hair along the sides and back.
- Check the fit and add more clips if needed.
Wig clips are a great solution if you want to make a wig smaller without sewing or cutting. They’re also easily removable.
Conclusion
- Measure your head to ensure the best fit before starting.
- Adjustable straps and wig clips are quick, easy solutions.
- Adding an elastic band provides a snug fit without visible alterations.
Learning how to make a wig smaller is simple and allows you to customize your fit comfortably. Each method above helps you achieve a secure, comfortable fit so you can wear your wig with confidence. Try out these steps to make your wig fit like a charm!


